
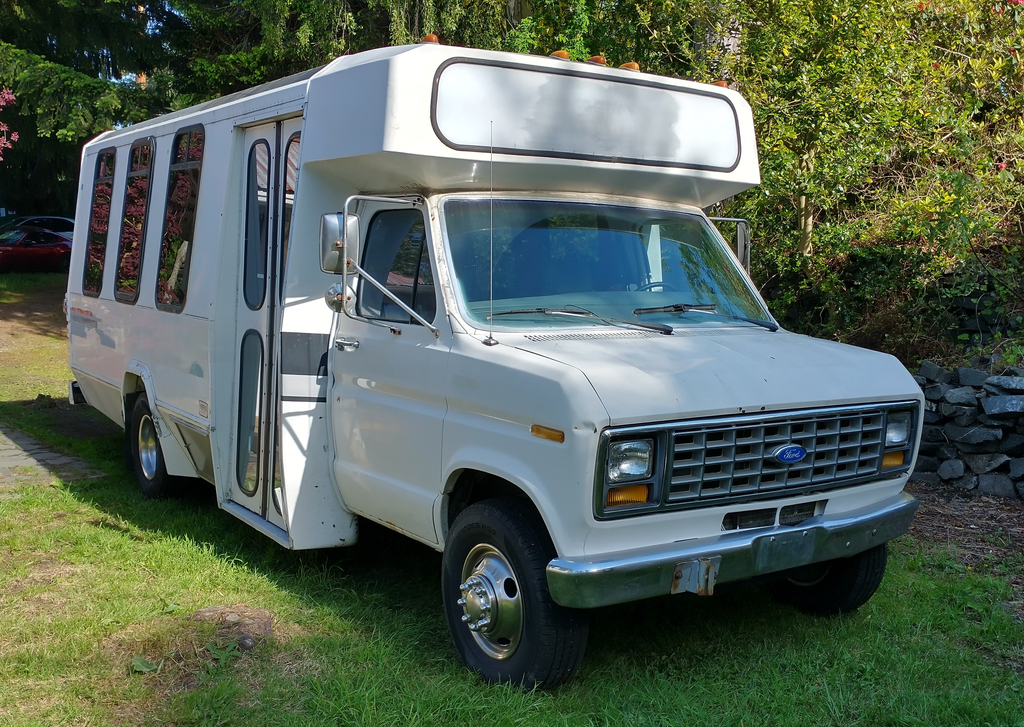
2022/05 – Not bad looking at all. The only problem spots are where the club tried to remove their signage and did a botch job on it. The paint is oxidized as well since it was not cared for well enough. Minor Details to deal with, a bit of dent & very minor rust repair..
2022/05 – It is in really good shape for its age (built in 1991). I do have to tend to the rubber body gaskets and the window seals.. but it’s all doable. I’m trying to locate a supplier for the windows though in case I have to replace any of them or their parts.
Interestingly the Signage glass window above the cab still lights up fine. Although I have to scrape off the paint overspray that someone did at one point in it’s history. I have a lot of TLC I need to give to the paint and fiberglass / aluminum body. Never mind a bit of body rust, which is not in difficult places. AND the frame is fine.
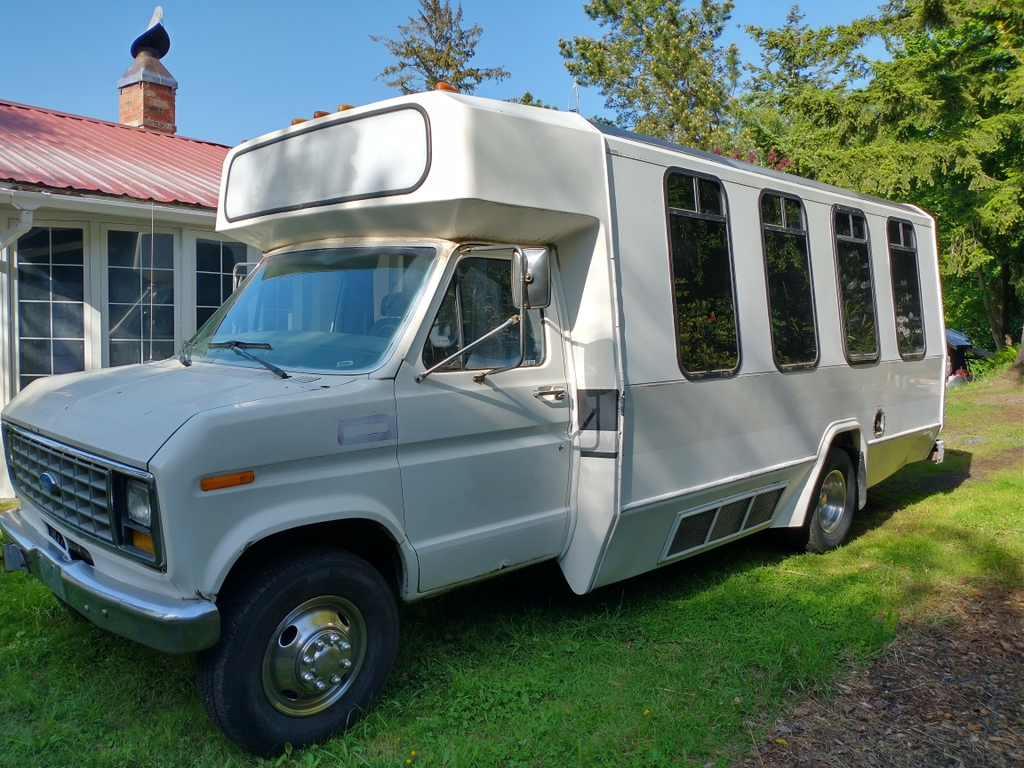
I have to replace the lights, including the running lights on the side and roof.
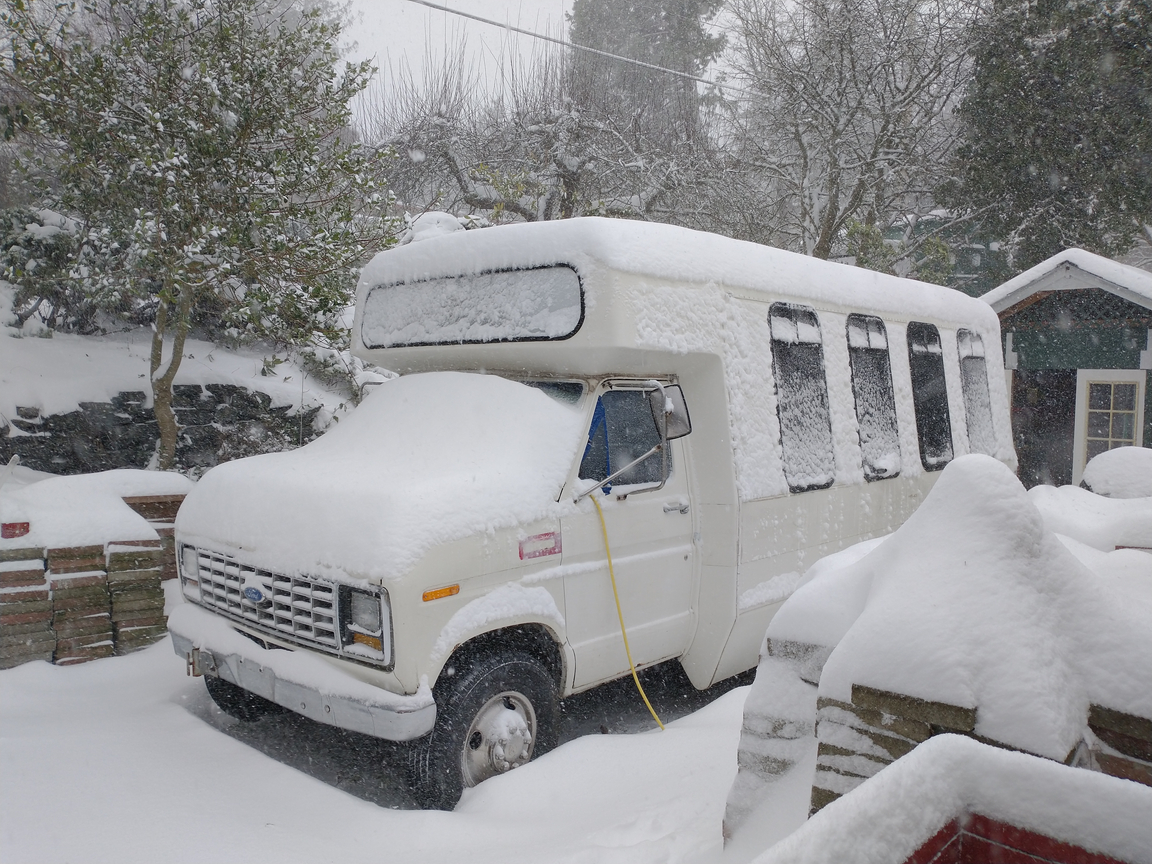
2021/01 Our 1st snowfall of the year. Still working on the electric (hence the power cord through the window).
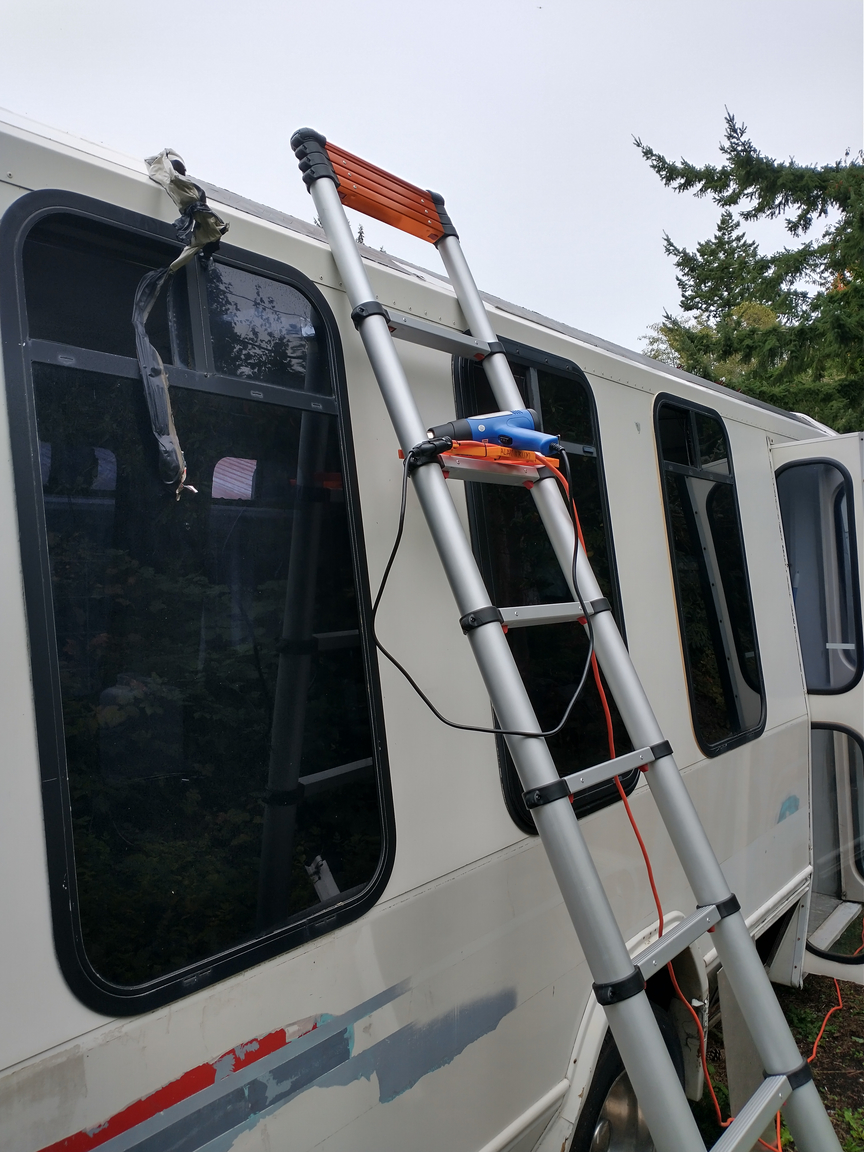
2023/09 Starting to pull off the old vinyl color stripes etc (black stuff hanging down in front of window). Some of it on the sides I will have to carefully grind off as it is not peelable with heat or scraping… sigh.
P.S. absolutely LOVE the telescoping ladder as it will adjust in height AND will allow a slight twisting to get it to sit solid on the ground.
P.S. absolutely LOVE the telescoping ladder as it will adjust in height AND will allow a slight twisting to get it to sit solid on the ground.
Finally got the Cabin Heater and A/C units out. Scrapping the A/C as it ran off the engine. Might put in 12v powered A/C later. I am saving the A/C fans for some ventilation projects planned. Also saving the Cabin Heater to re-purpose as well.
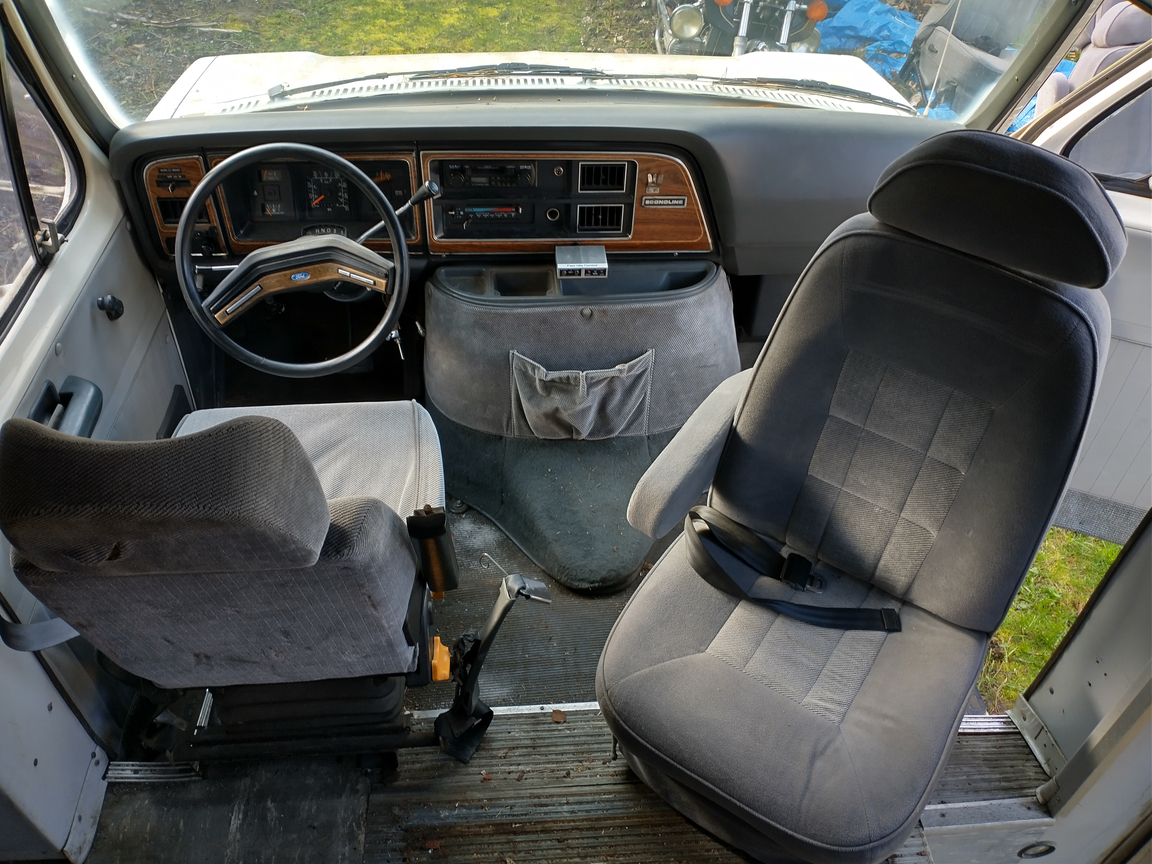
Well as it turns out (pun intended) I already have a swivel passenger seat. Took a lot of work to figure it out and get it working again.
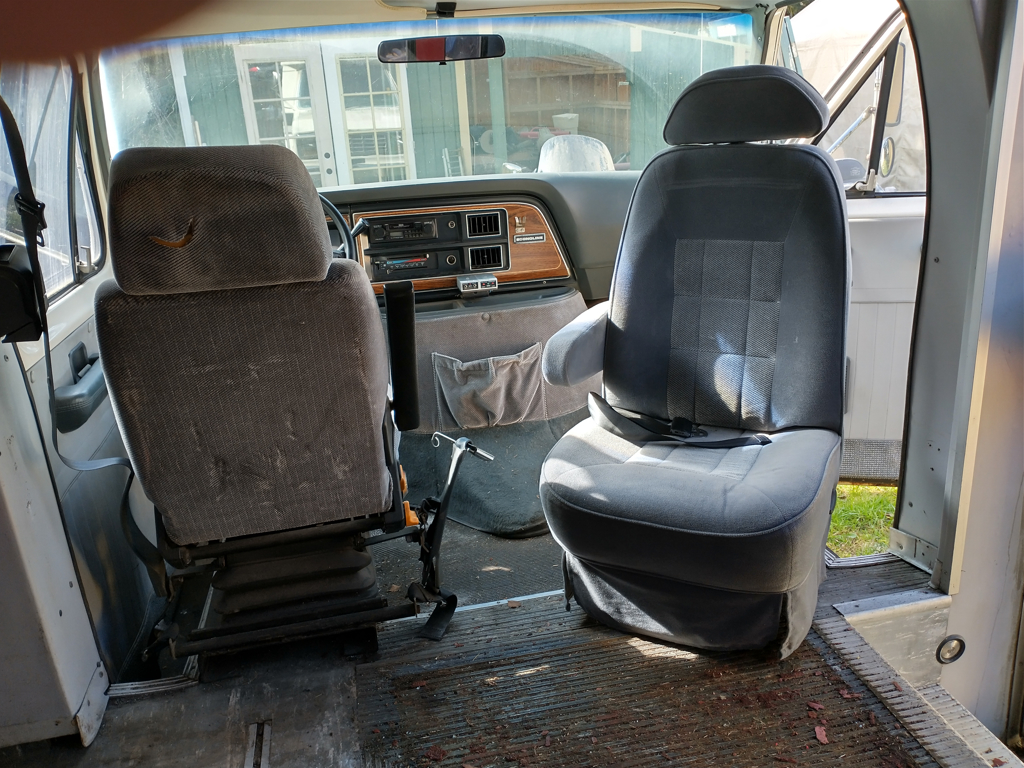
Another view of the seat swiveled and the unfortunate state of the drivers seat. The drivers seat air ride works.. sort of, it is missing some bolts in linkages, and is a bear to adjust. I eventually plan to replace it with a modern one, possibly the passenger seat as will in time (very low priority).
Passenger seat fully swiveled and moved to the back of the cab. Leaves a fair amount of space to get in and go to the back that way.
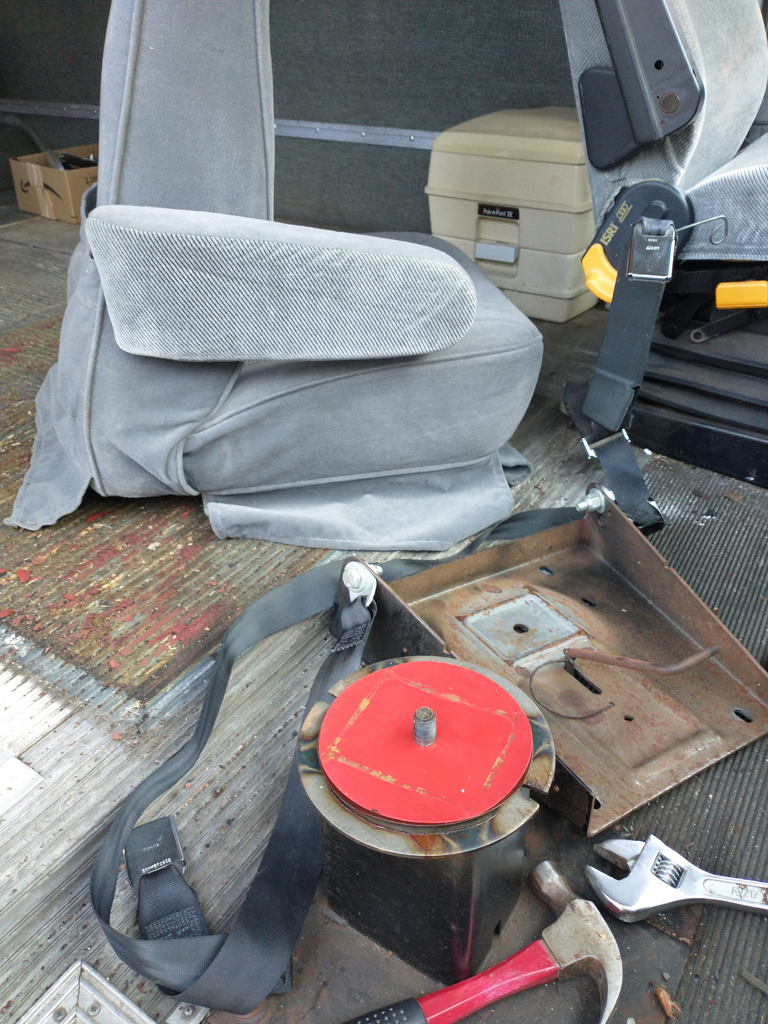
I was searching for the lever to move the seat forwards and back, did not immediately find it, but found a different lever, but it didn’t work as expected. Figured out is was the swivel release (on the seat adapter pan – shown upside down on the left). Did find the lever to slide the seat front to back once I took the seat off. It was pretty hidden and I modified the skirt to make it more accessible. The swivel lever is not useful at all if the seat is facing back to the cabin and the seat moved back. I am exploring a different way to release the swivel, maybe a solenoid.
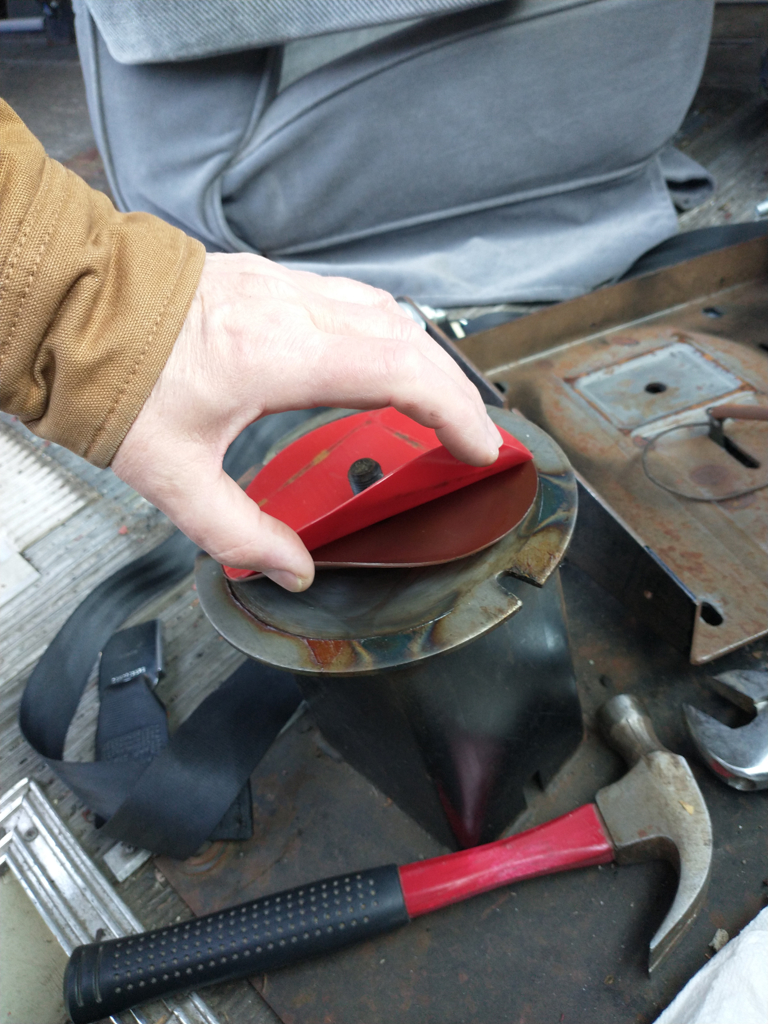
It only took adjusting the center bold a bit to let it swivel again. It had seized up with age and just exercising the disks brought it back to life.
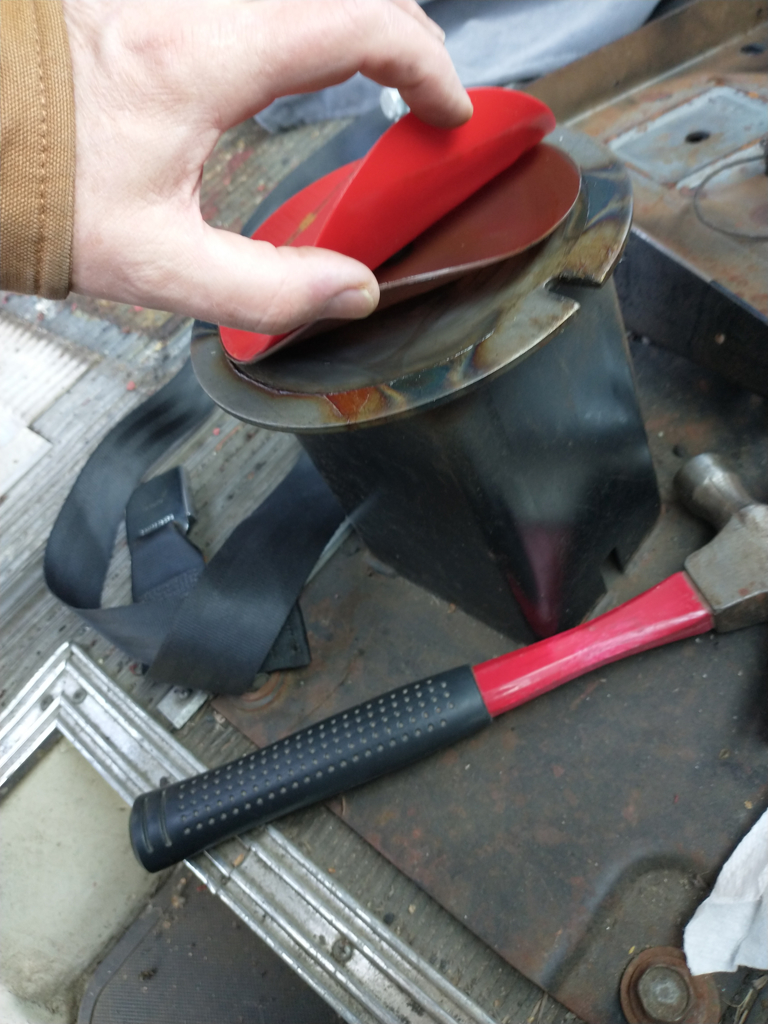
Interesting that it uses two plastic disks instead of ball bearings. This actually makes a lot of sense as it rotates slowly and safely, basically viscous damped. Only the bottom plastic disk slides on a thin layer of grease.

The drivers seat is an OLD style air-ride. The passenger looks like it is on a swivel since there is a release lever going to the base. It’s one of my upcoming projects to remove the seat and see what is going on. Since it was a shuttle bus there is a strong possibility that it does swivel.
I’m also going to at least add power up/down to the passenger window as it is a LONG way to reach across from the Driver’s side. Power locks are also coming.
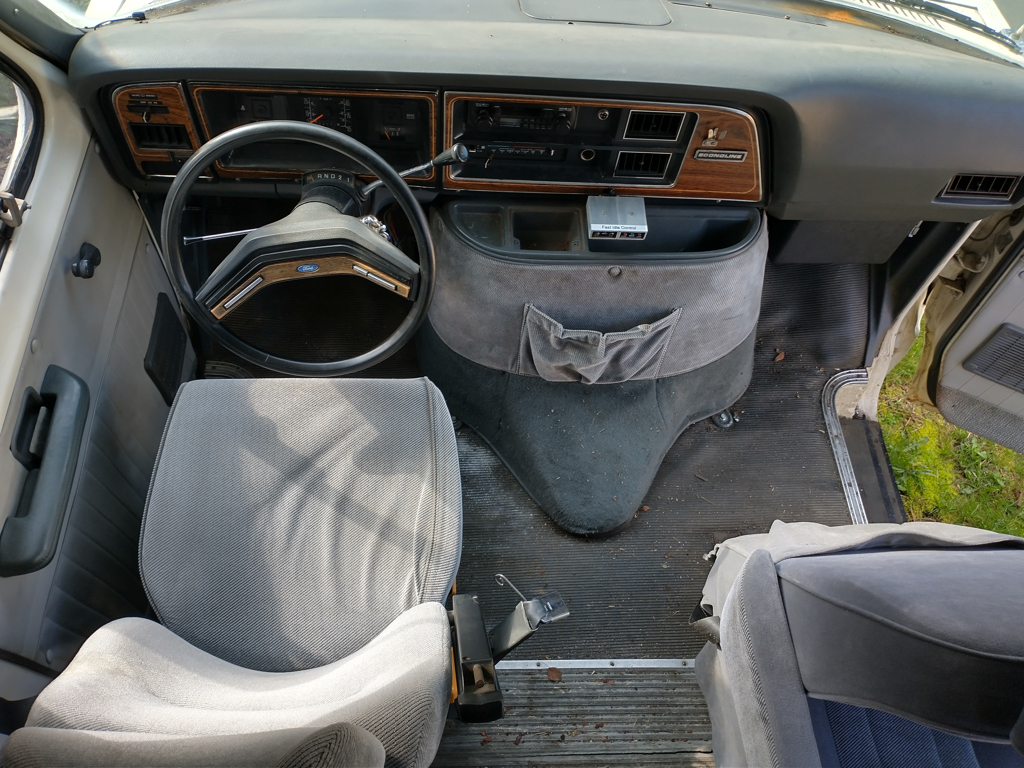
The ENTIRE dash is planned to be re-worked and made up to date and more efficient. The little box on the engine cover is the High Speed Idle control for when the bus was sitting and A/C was running etc. which still works fine.
Another project is to see if I can change the angle of the steering wheel. I can barely fit between it and the drivers seat (and I am Not a big person)
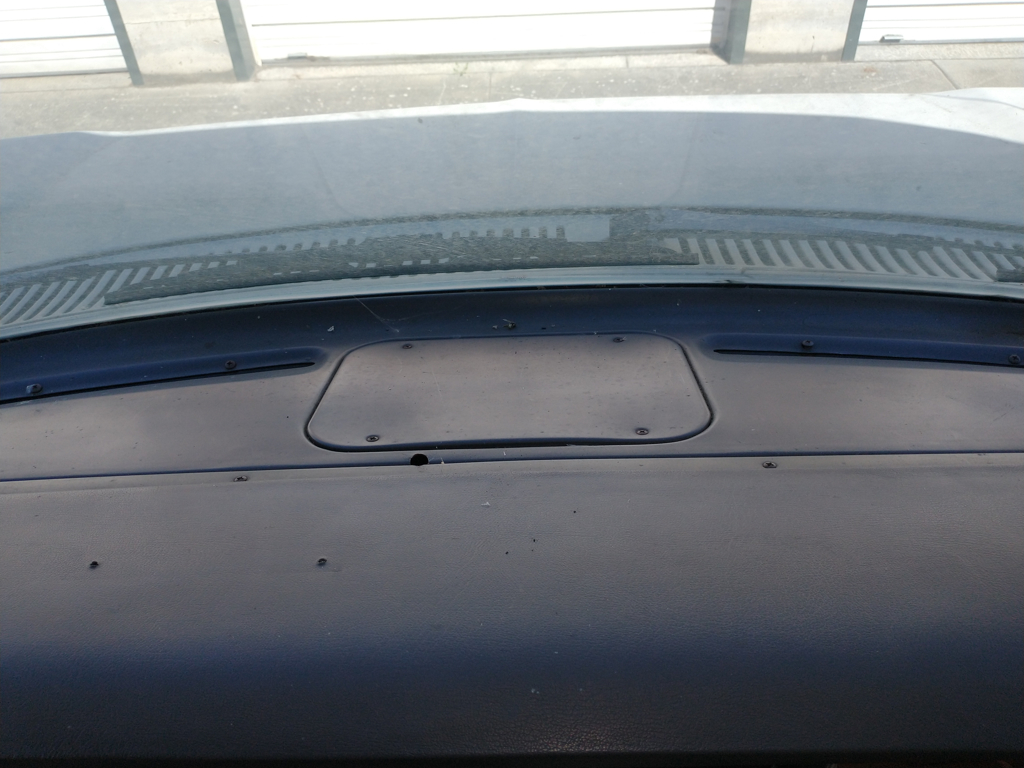
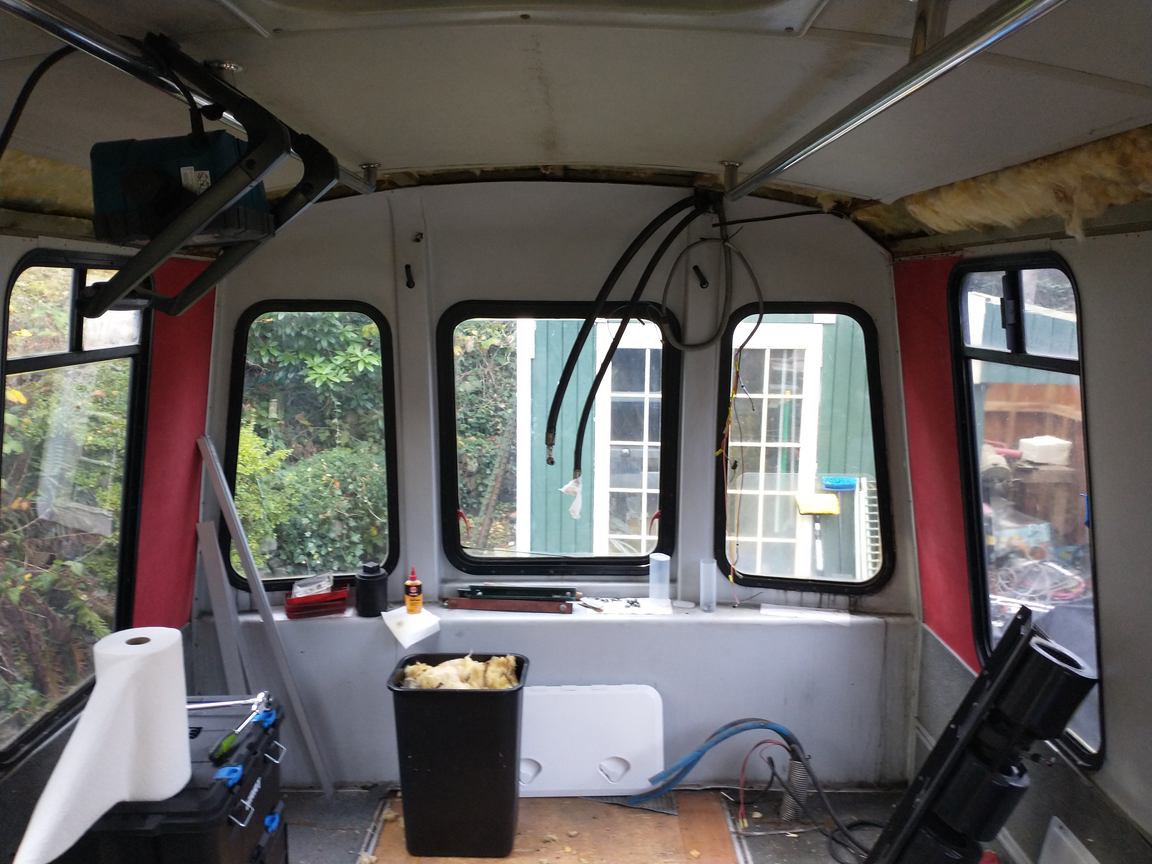
I have a lot of changes planned for the dashboard, including this area.
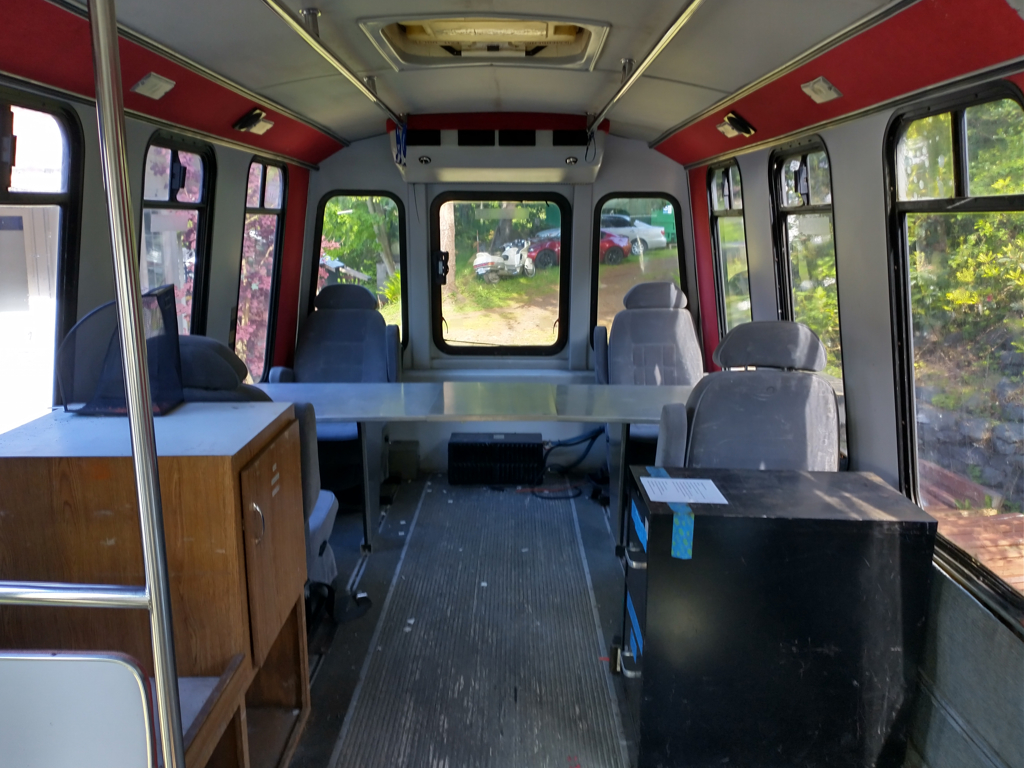
This is how the club modified the interior to be an Officials vehicle. The aluminum tables on each side were custom built and have a center leaf you drop between them that makes a big desk. I really wish I could keep this arrangement, but it is not storage efficient.. sigh.
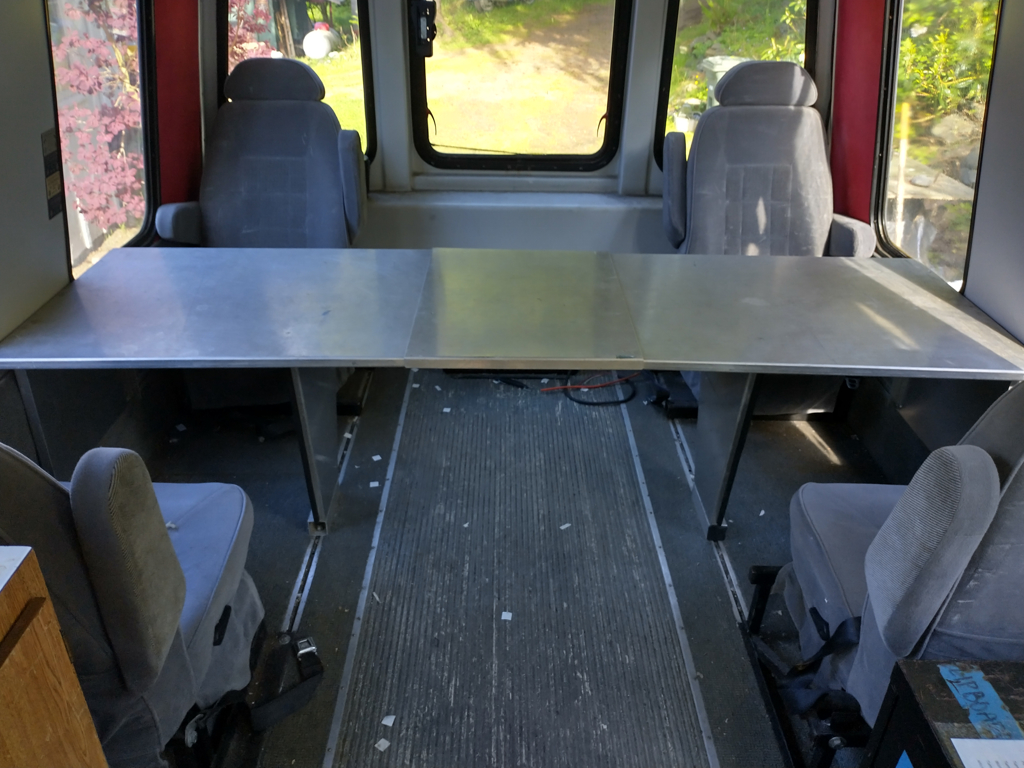
Close-up of the tables with the center leaf in place. Great working area. Sad that it has to go, but I may be able to salvage parts of it.
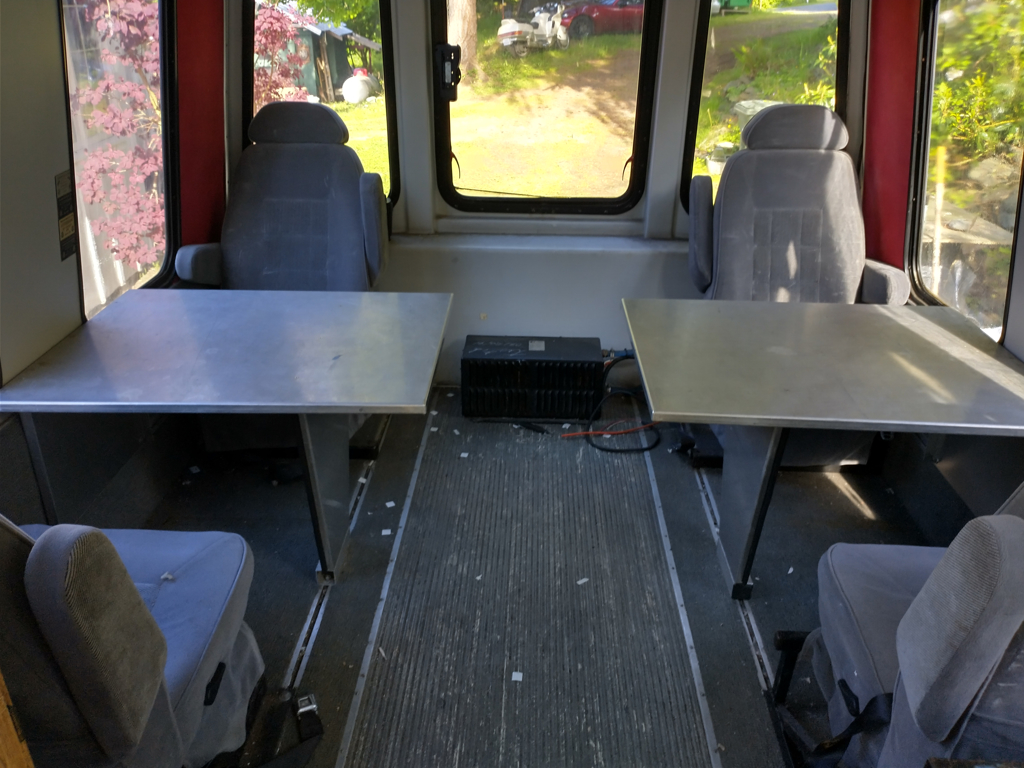
Without the center leaf.. these tables are built really well.
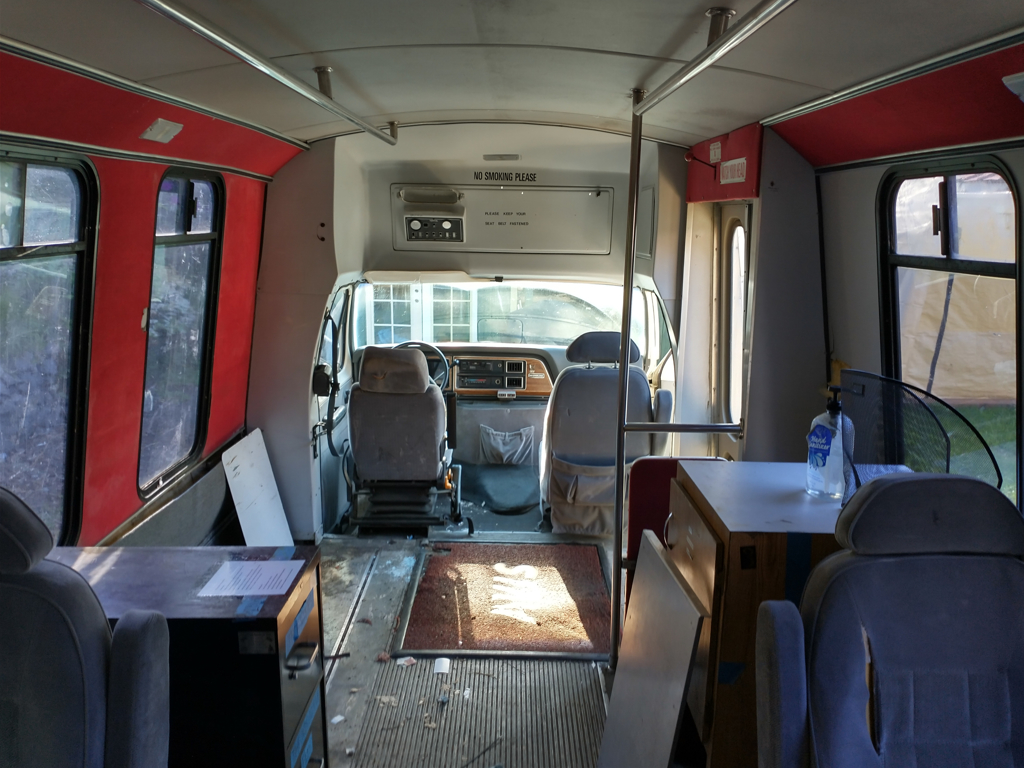
Looking to the front (duh), and you can still see the tacky old Avis entry mat from when it was a shuttle bus 20+ years ago. All the vinyl and rug floor coverings are coming up and being re-done. I have not yet found any bad spots in the floor itself.. just lots of small holes that folks have put in it over the years.
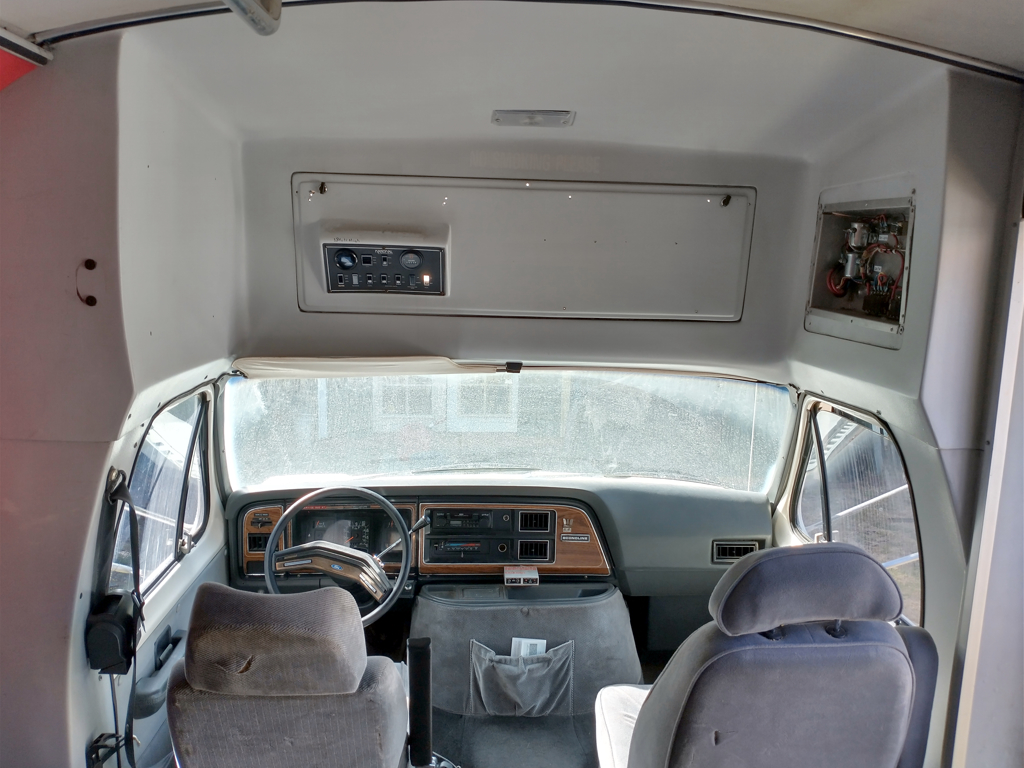
Already got rid of that useless mirror above the control panel.